THE A-FRAME EMERGENCY SHELTER.
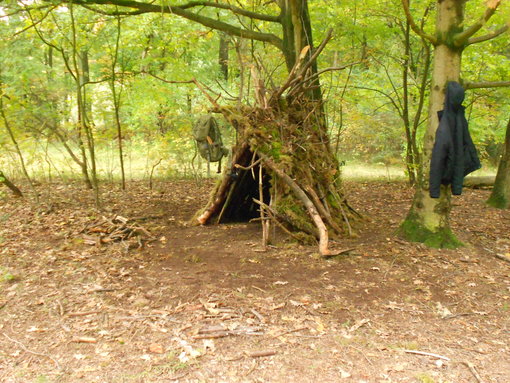
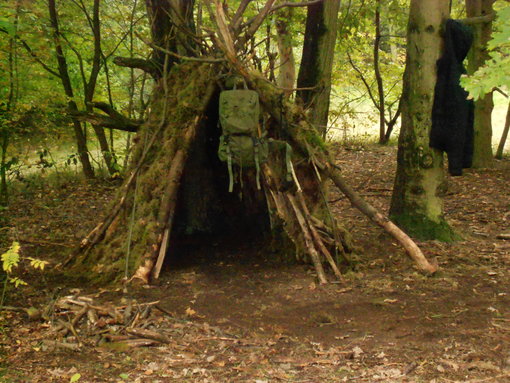
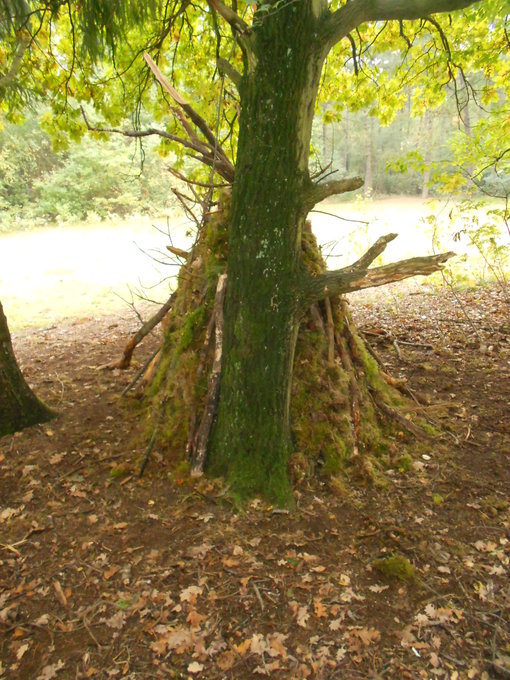
There are different opinions, methods, materials and types of A-frame shelter, useful in different situations. This is simply my method, adapted to the situation. The shelter in the photographs had been demolished, but I rebuilt it using only natural materials to create a comfortable shelter for two or three people. I gathered the materials first, because good preparation & planning is often half the work: Proper Prior Planning Prevents Piss-Poor Performance (7Ps). Wear thin work gloves to protect your hands.
PREPARATION:
See if there are any hanging tree tops & branches (the so-called "widowmakers") hanging above the area to be used.
Determine the wind direction: the opening must face away from the wind to protect against cold air, rain and snow.
Consider how long the A-frame shelter will be used: temporarily or permanently?
Is it cold and/or bad weather?
What is the area’s height above NAP, the Dutch reference level for sea level?
Is there a water source nearby, but not too close?
What natural materials are available?
Are artificial materials available?
Should it be comfortable and large or small?
Does the shelter need to be built for tactical use?
Then choose the right location: not too close to water, in a gully or on top of a hill & mountain.
Clear the flat surface from stones, branches, pine cones or other obstacles and check for pest nests.
Check the tree and ground for wasp nests. If you find one, do not pull it away, or you may have to run fast! I remember that from childhood.
* Use a sturdy tree on the windward/rear side, with healthy branches overhead. A strong branch at approximately 0,75 -1,5 metres can form the ridge, sloping slightly downwards.
* Or bind a firm branch to the tree at the right height and place the other part in a dug-in V-shaped support pole.
* Alternatively, make a freestanding A-frame from two strong branches tied together in an inverted V at the front, supporting a long ridge pole that rests on the ground at the rear. This produces a tapering shelter.
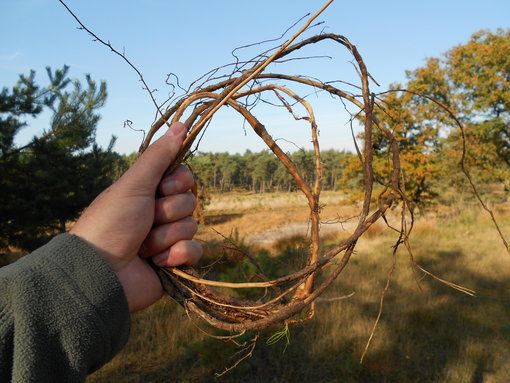
If available, gather enough sturdy dry branches and poles, green conifer branches for walls and floor, large pieces of bark for the walls, and dry leaves or grass for walls and floor. Cut large, thin pieces of turf or moss for the covering. Flexible twigs or tree roots can be used for lashings. Drag or carry the materials to the site in a rubbish bag or on a basha/tarp.
For tactical use, avoid leaving digging, chopping, gathering or foot tracks. Remember that chopping makes noise too.
Remove knots and branch stubs from the poles to prevent injuries. Do not leave sharp branches pointing inside.
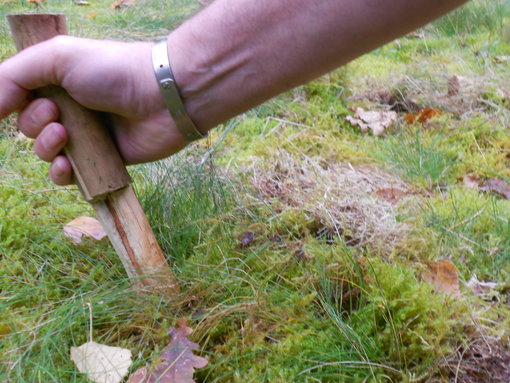
Do not normally cut turf or moss with your precious knife; make a hardwood cutting or digging stick instead.
Without these natural materials, you will have to improvise more.
Sort the materials by type beside the building site to save searching and time.
Determine the size of the ground surface inside and the angle of the walls. The steeper the walls, the faster & better the rainwater goes off.
NOTE:
If the temperature is well below freezing, do not make the shelter much larger than its occupants. This retains body warmth more effectively. Insulate yourself from the cold ground too.
BUILDING THE COMFORTABLE A-FRAME SHELTER.
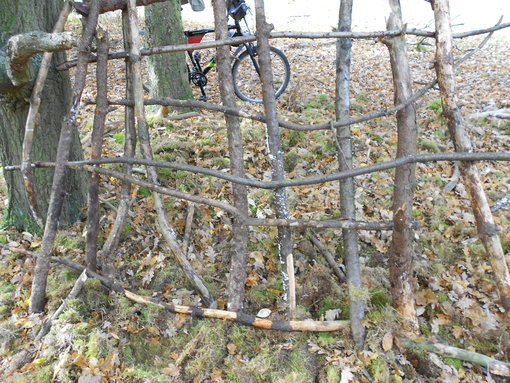
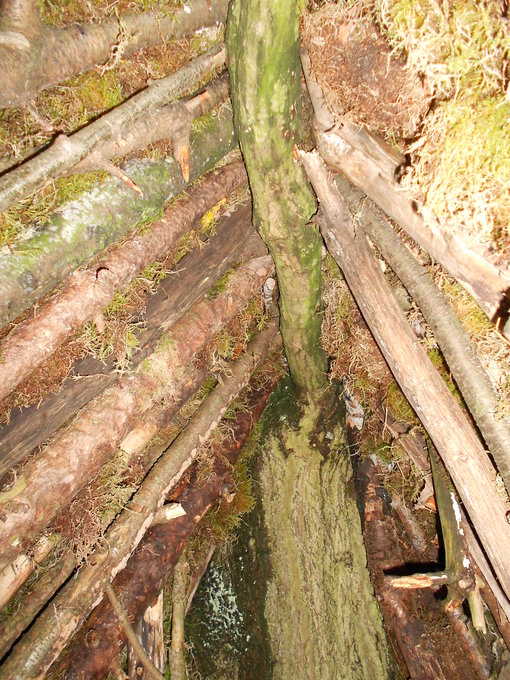
Make a strong, pointed A-frame from dry branches. Lean sturdy poles and branches on both sides against the solid horizontal tree branch, or against the long ridge pole secured in the V-shaped support.
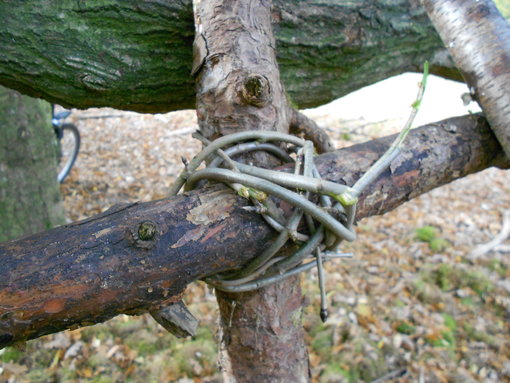
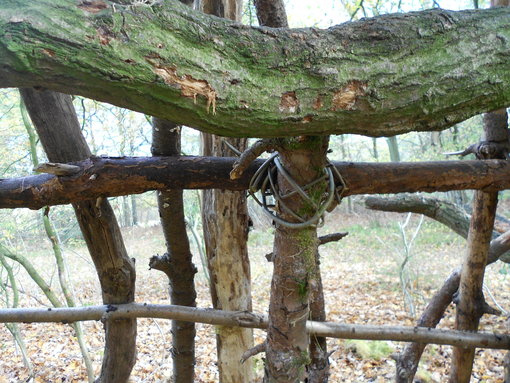
Reinforce the frame with extra branches, placing them close together if enough are available. If thick branches are scarce, weave thinner flexible branches between them. Tie these with supple twigs and/or tree roots.
If available, lay large pieces of bark or flat wood against the outside of the branches, working from bottom to top & overlapping like roof tiles.
If available, add conifer branches above them, working from bottom to top & overlapping like roof tiles, oriented as they naturally grow.
Put dry leaves over this.
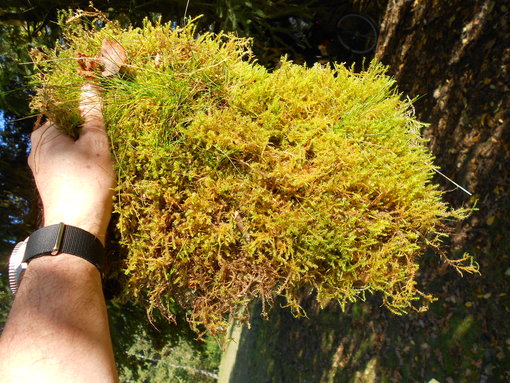
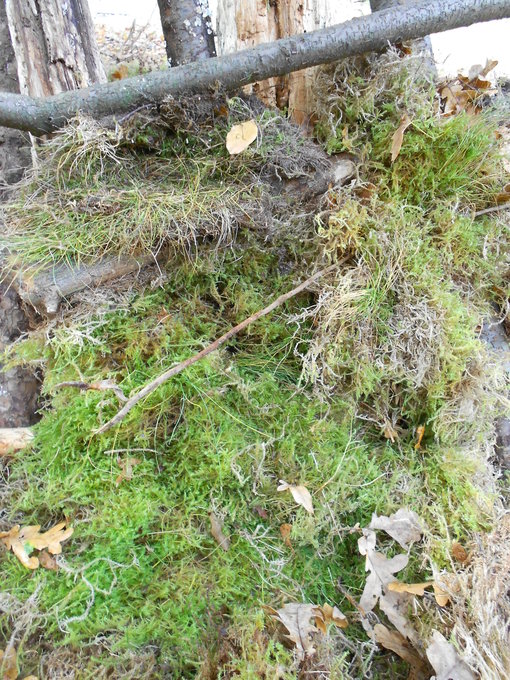
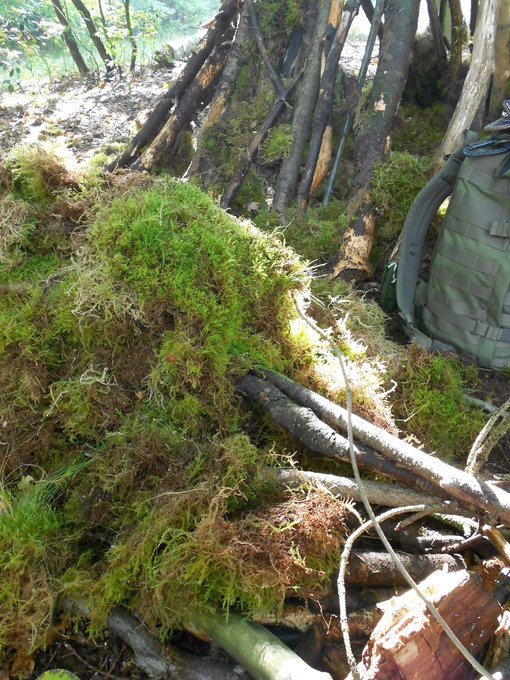
For an extra waterproof covering, overlap the cut turf from bottom to top & like roof tiles. Aim for roof and wall layers at least 10 cm thick.
To blend into the surroundings, sprinkle leaves over the turf. If you have a mountain bike and want to remain unnoticed, lay it down: round shapes stand out even at a distance. Lock it to a tree when exploring the area.
INSULATE against the cold ground. For a comfortable night, or day, first lay branches and poles over the ground, then a thick layer of conifer branches or moss, and dry leaves on top: at least 15 cm in total if possible. Your body cools much faster on cold ground, approximately 75 % faster. For greater luxury, build a bed frame 10-15 cm above the ground.
Memories: On my first winter exercise after joining the military, I slept in a bivouac with only an approximately 3 mm-thick rain/NBC cape for insulation. It did little to stop the penetrating cold from the ground. Later, during my NATO posting in West Germany, I quickly obtained a folding Bundeswehr mat, which I still use.
Make a fire reflector for an elongated fire.
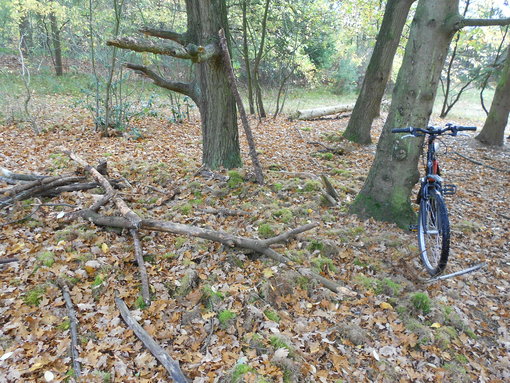
Below is a photographic sequence showing the construction from start to finish:
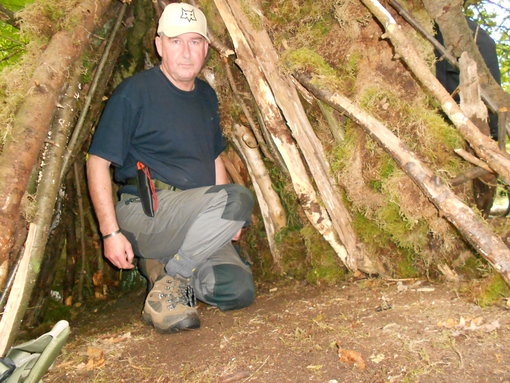
Knife expert Henk Kraaijvanger was an OPC/instructor at the KMA and a non-commissioned officer attached to the Force Protection Bureau. He is now retired.
From 1996, he was also knives editor for weapons magazines SHOOT and AK-56, and a freelance knife tester/writer for SAM until 1999.
He also designed the HKD sheath and is the current chair/member of the DKE jury.
Importers: do you have a knife or another edged tool you would like tested or reviewed? Perhaps you are a knifemaker, or just starting out?
Email us at [email protected] and we will tell you where to send your knife or axe.
 Lees in het Nederlands


 15% off
 15% off